For part 2, I'm (Tamas) going to talk about my general Blender-to-Unity workflow, which involves things like level/object design, pathfinding and movement, and other animation. I'm going to use a lot of screencaps as they do a pretty good job of illustrating what I'm doing.
Level Design
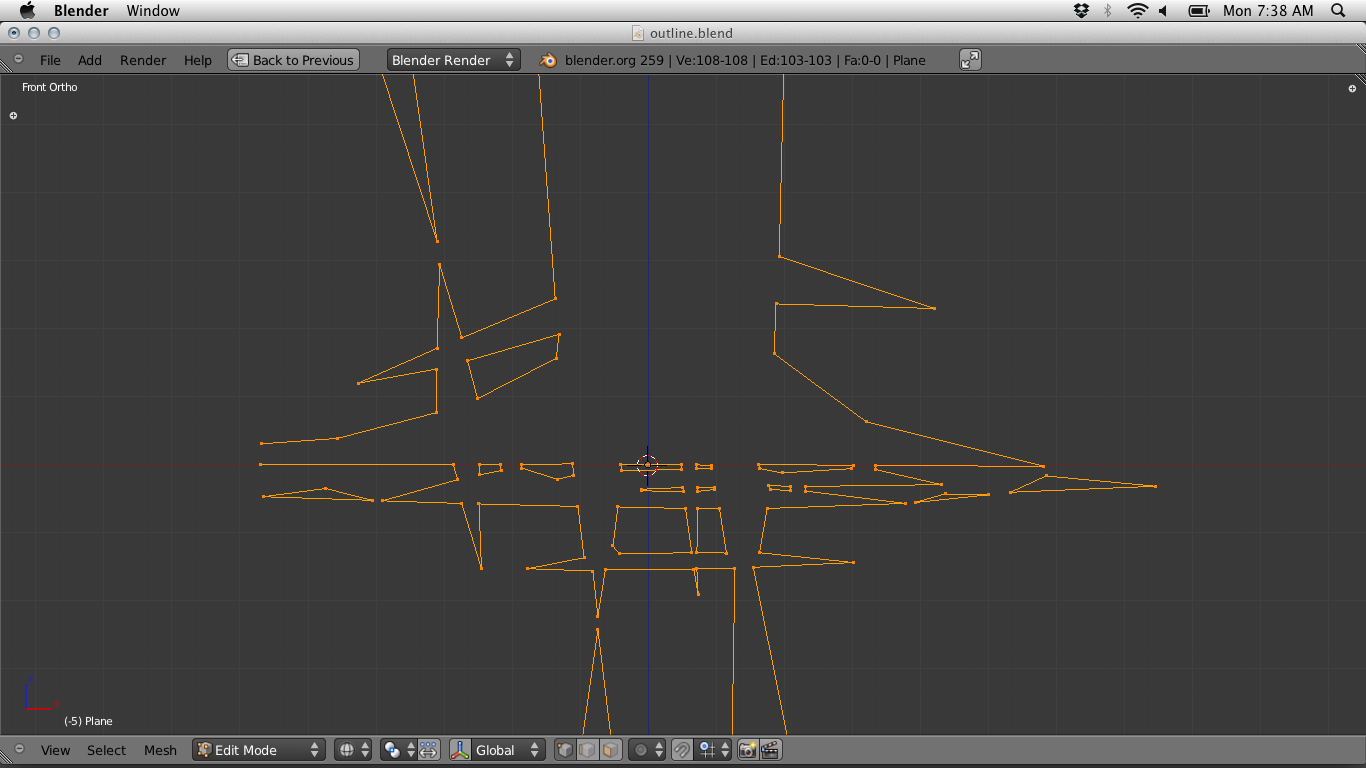
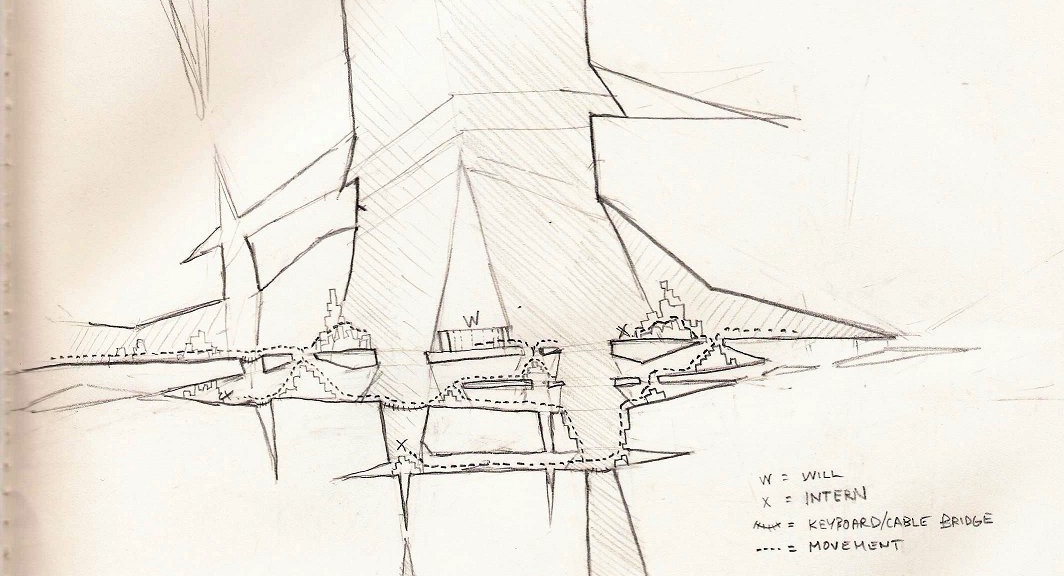
Most of the level design happens in Blender and occasionally on paper when it's nice day to work on the porch. I find working with lines and simple meshes in Blender is the easiest way to sketch out an area, though, especially with mapping out cave systems. Having 3d feedback is helpful.
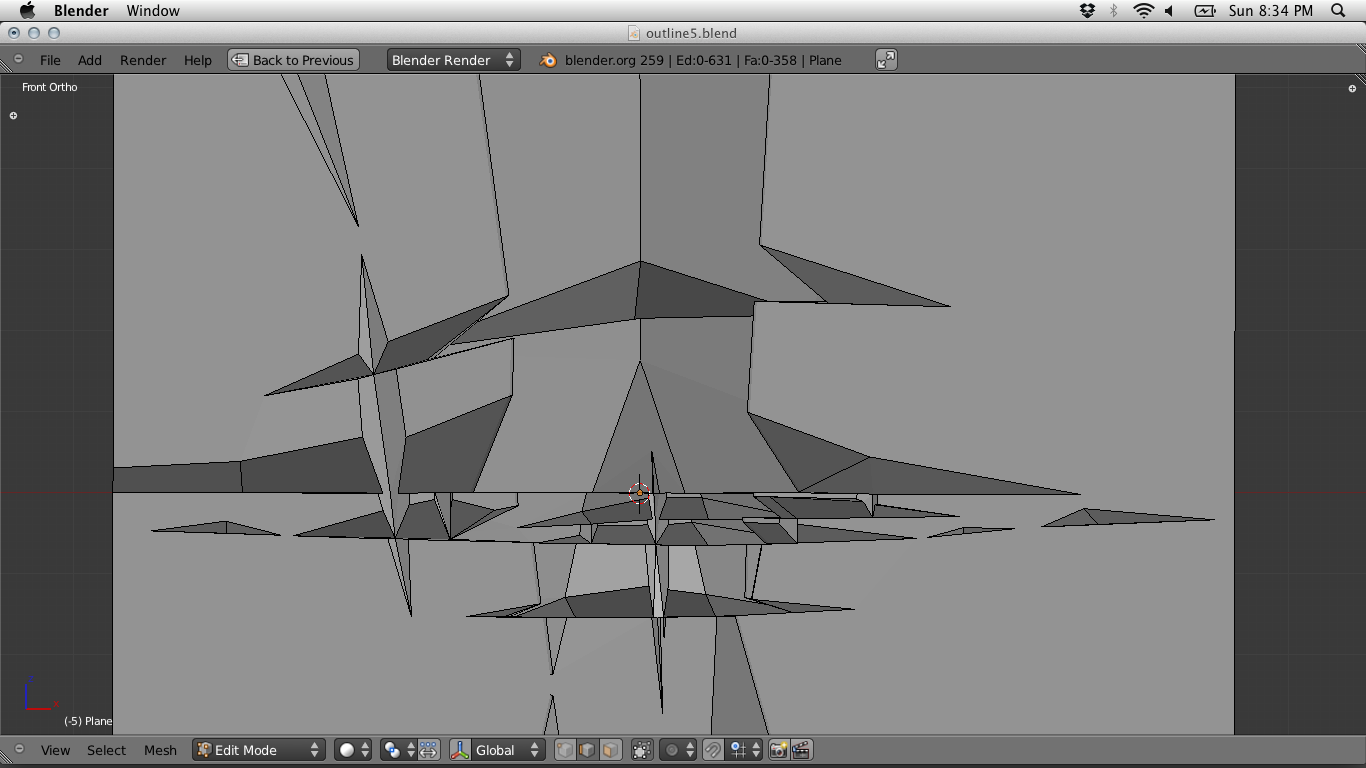
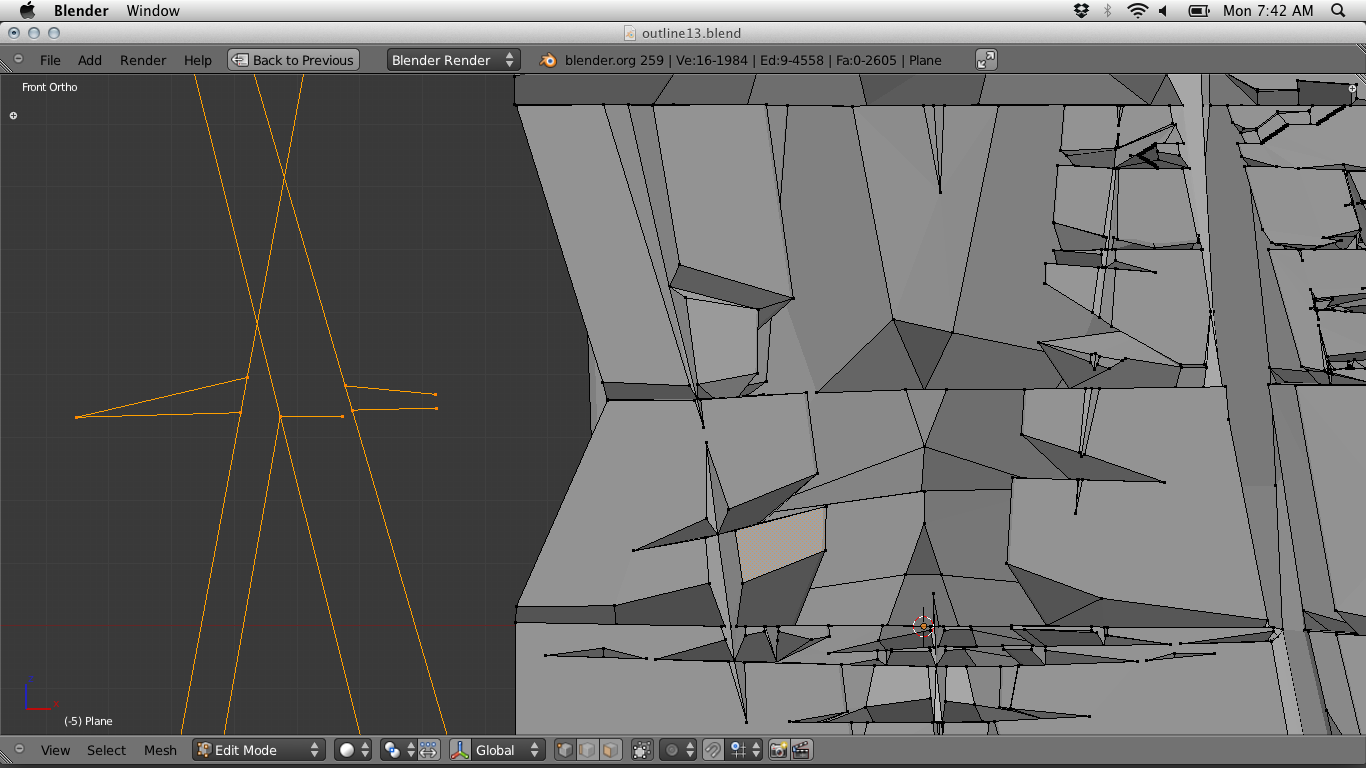
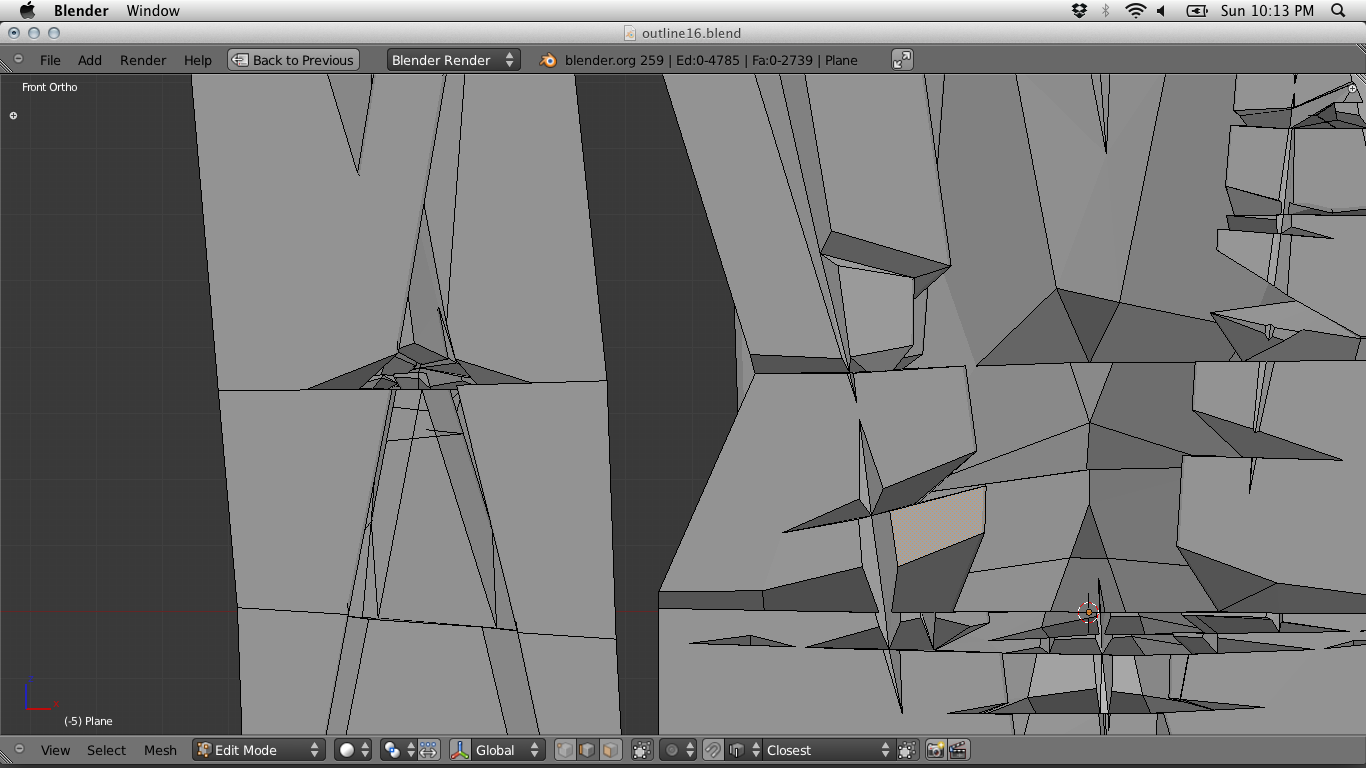
It's hard to take a modular approach to designing cave systems. Using re-usable assets to build out more natural looking chambers and tunnels didn't work quite right. Instead my process involves prototyping a low-poly mesh of the area, just the bare-bones features like spatial queues and the platforms and surfaces the players and characters depend on for movement. This gives us good sense of flow and timing for gameplay, and when its solid, I go through iteravely and and more detail in passes.
When design a cave system for a particular area in KRZ, I pick out a visual element I can repeat at different scales, and use as a foundation for the overall architecture. For the Hall of the Mountain King, I've been using strong vertical and horizontal cracks to lay out fissures and tunnels. but working with a design feature like this adds an interesting constraint that definitely helps unify the various chambers and tunnels.
Props
I've been working on a few Blender scripts to help streamline my Blender-to-Unity workflow, although a lot of these tasks could be easily ported to Unity later in development.
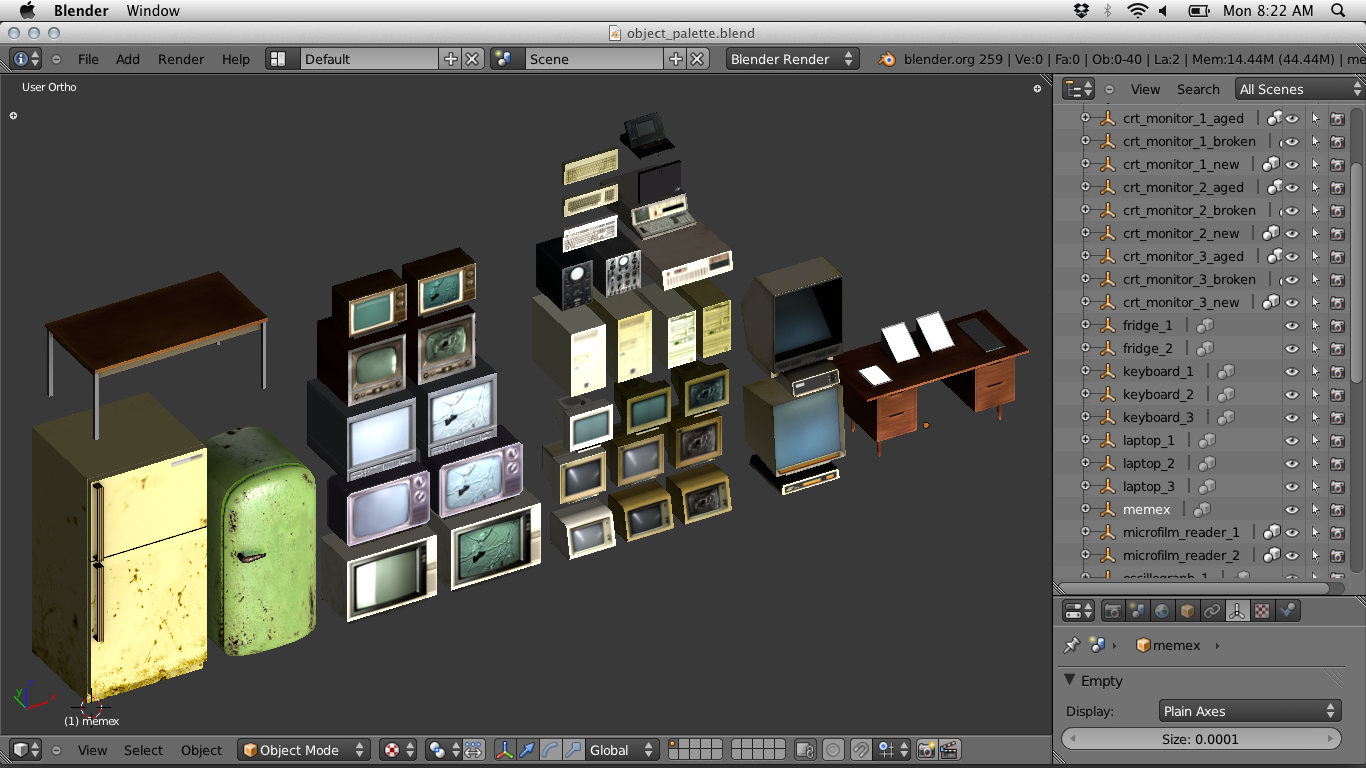
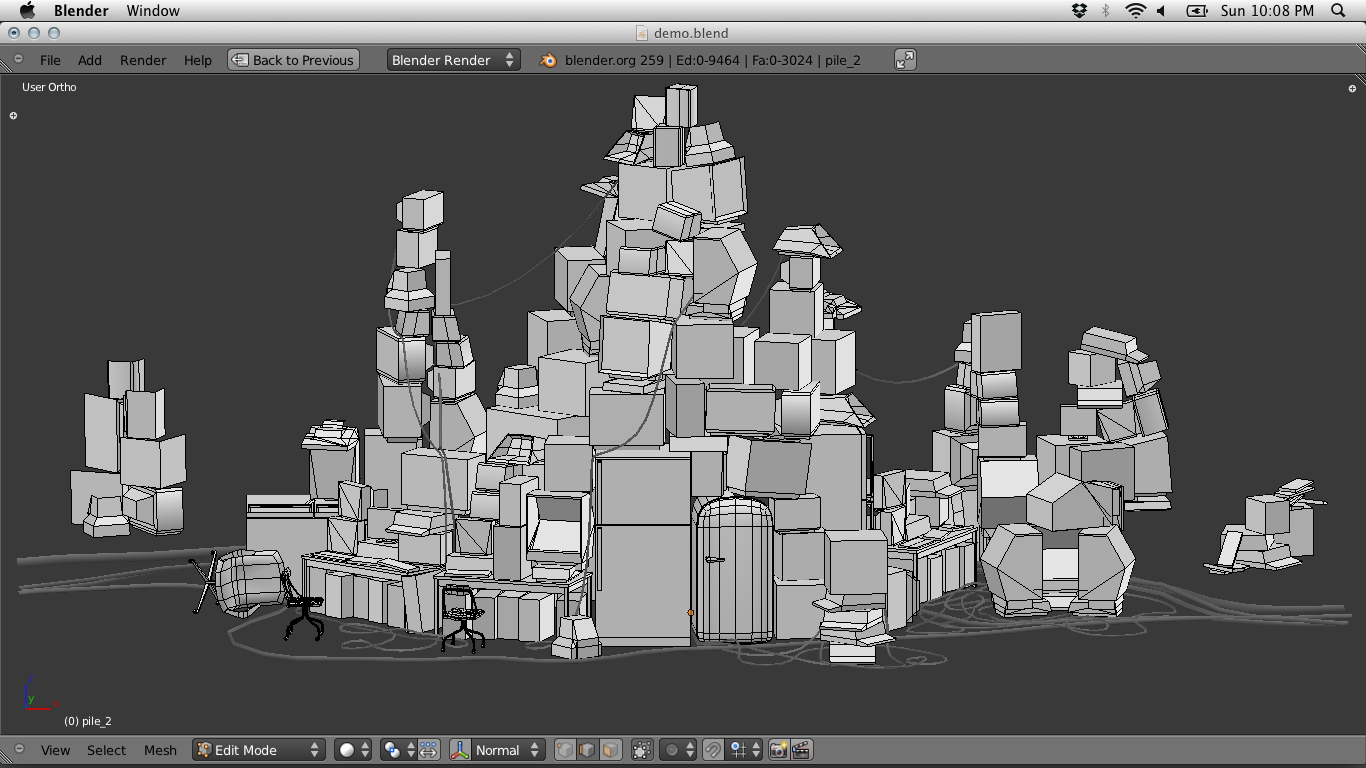
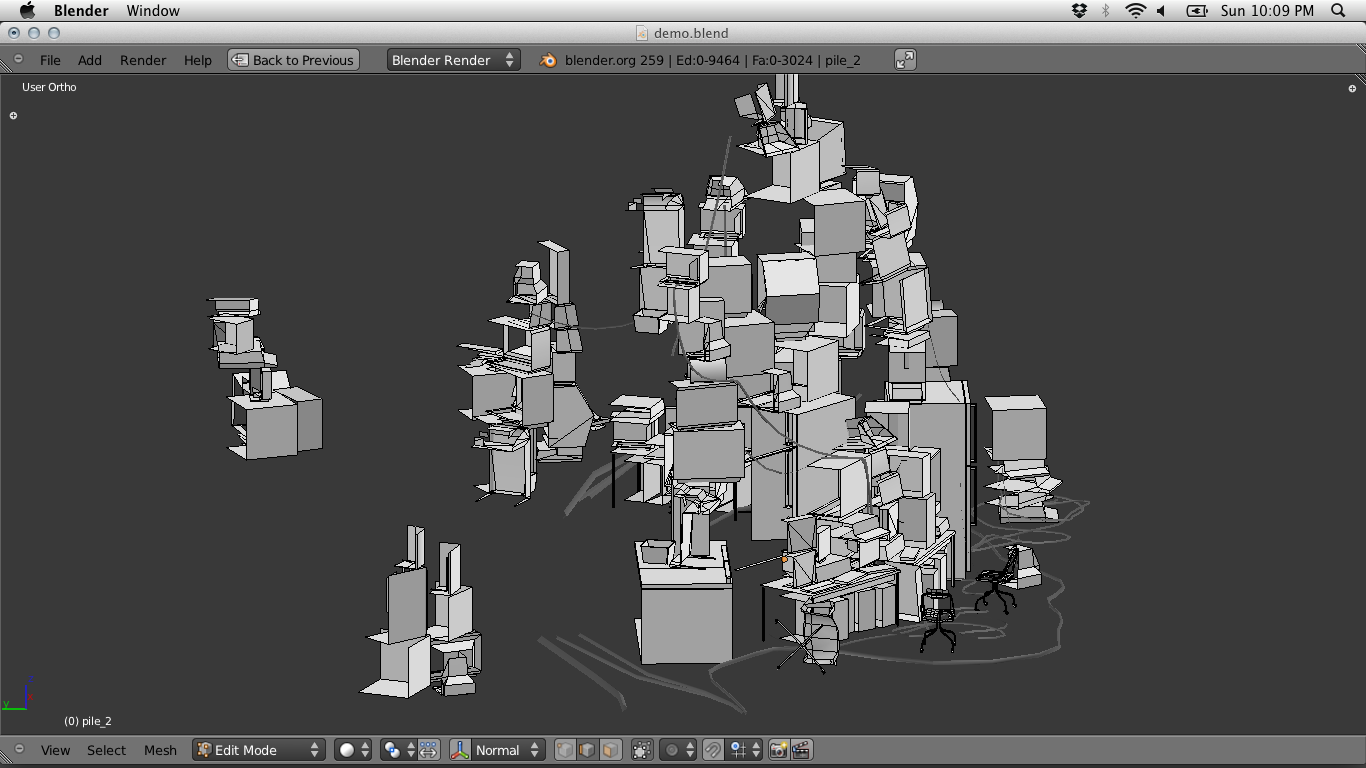
Adding props is a much more straightforward process. I just build very simple, minimal models in Blender. There can be quite a few of them, and Unity isn't very performant at keeping track of all these props as individual game objects. So instead of placing these objects around in Unity, I do that step in Blender, so I can combine clusters into one object. This way they share one mesh and one texture which is much more performant. From Blender I can apply other filters on these objects, like removing hidden surfaces. Since its a platformer, there is a lot of geometry and texture that isn't ever visible, and we can just cull that away. This usually almost doubles the texture detail for things you can actually see.
Movement
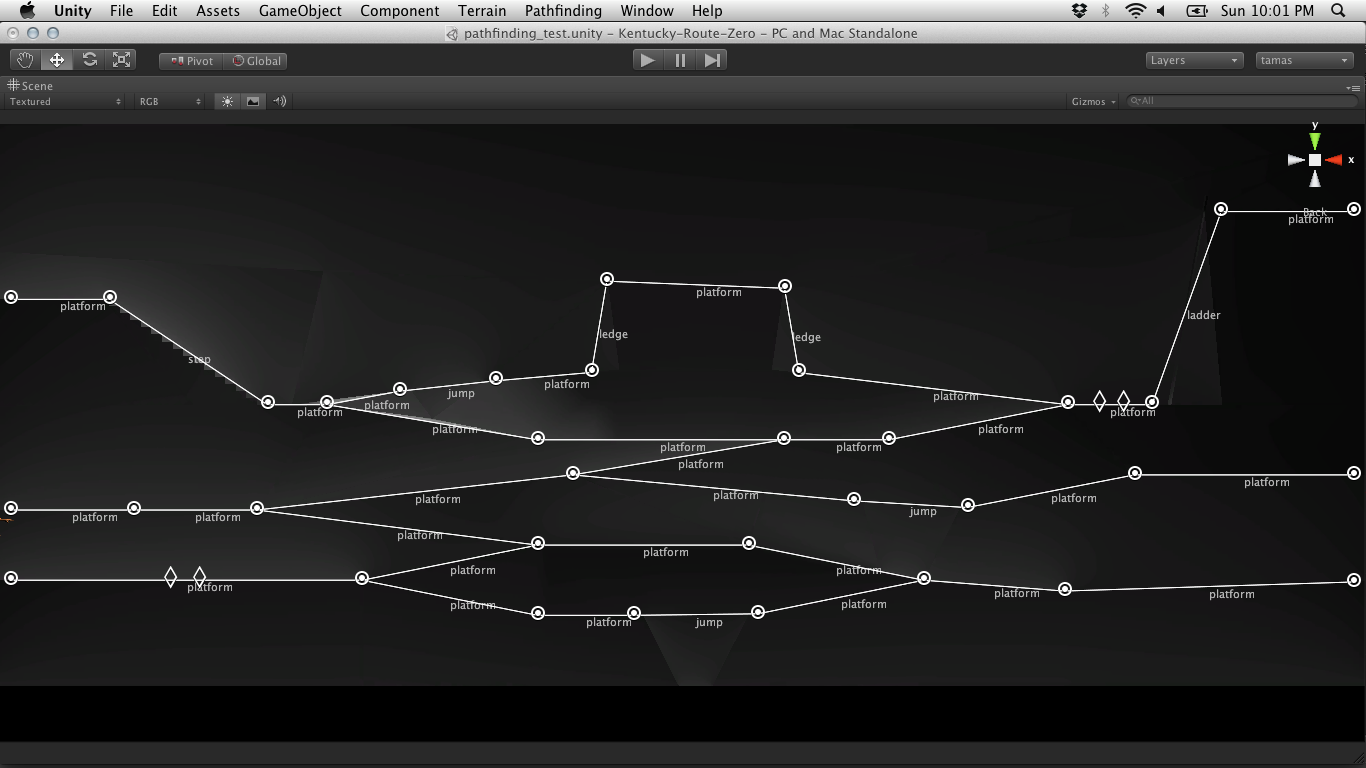
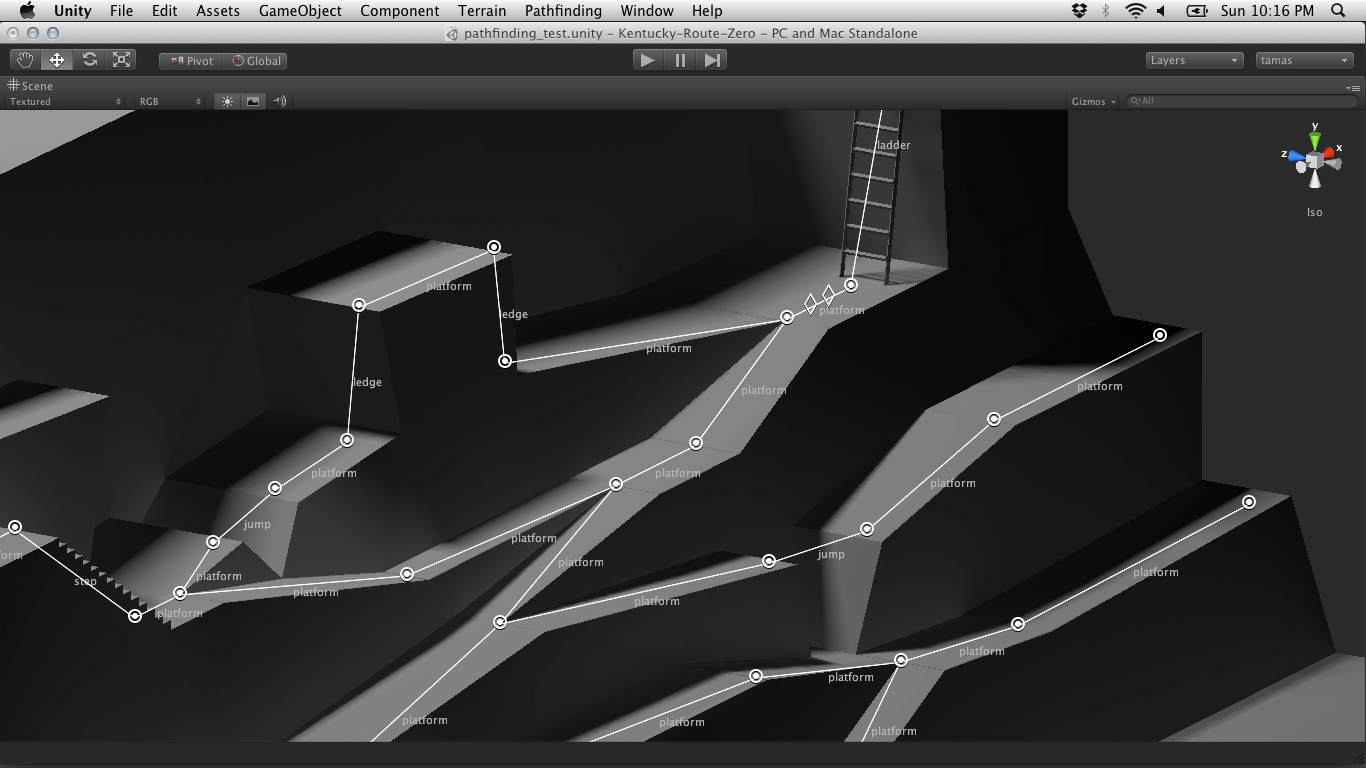
We're rolling our own minimal pathfinding system in KRZ. Using the Unity editor we can layout nodes and we can define types of movements between them, such as platform, ledge, steps, ladder, etc. We can also place "e;triggers"e; (those diamond shaped widgets) along these edges which can change game states like camera parameters, lighting, etc.
As you can see from the screencaps, the nodes can be positioned on all 3 axis, letting us to explore interesting movement options in a platformer that aren't totally locked on a plane.
I also have reusable drag-and-drop components for actors that can move along these paths. For any character, we can just add each movement component we want the character to have, like platform movement that gives the actor/player the ability to walk or run around on a horizontal plane. Some characters will have special movement abilities and will be able to use paths not available to Conway.
Animation
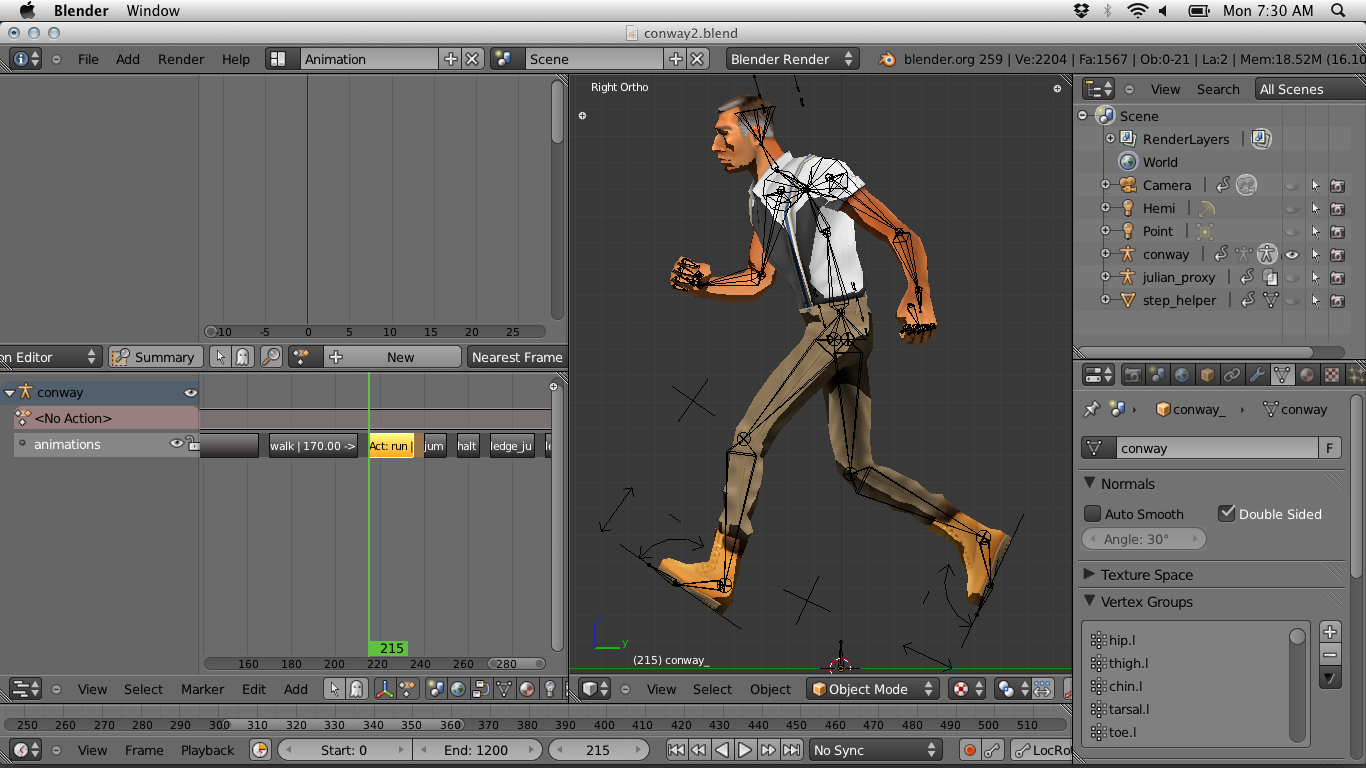
Unity makes this really easy. I just put all the animation cycles onto one timeline before exporting the model, and just slice the timeline back up in Unity.
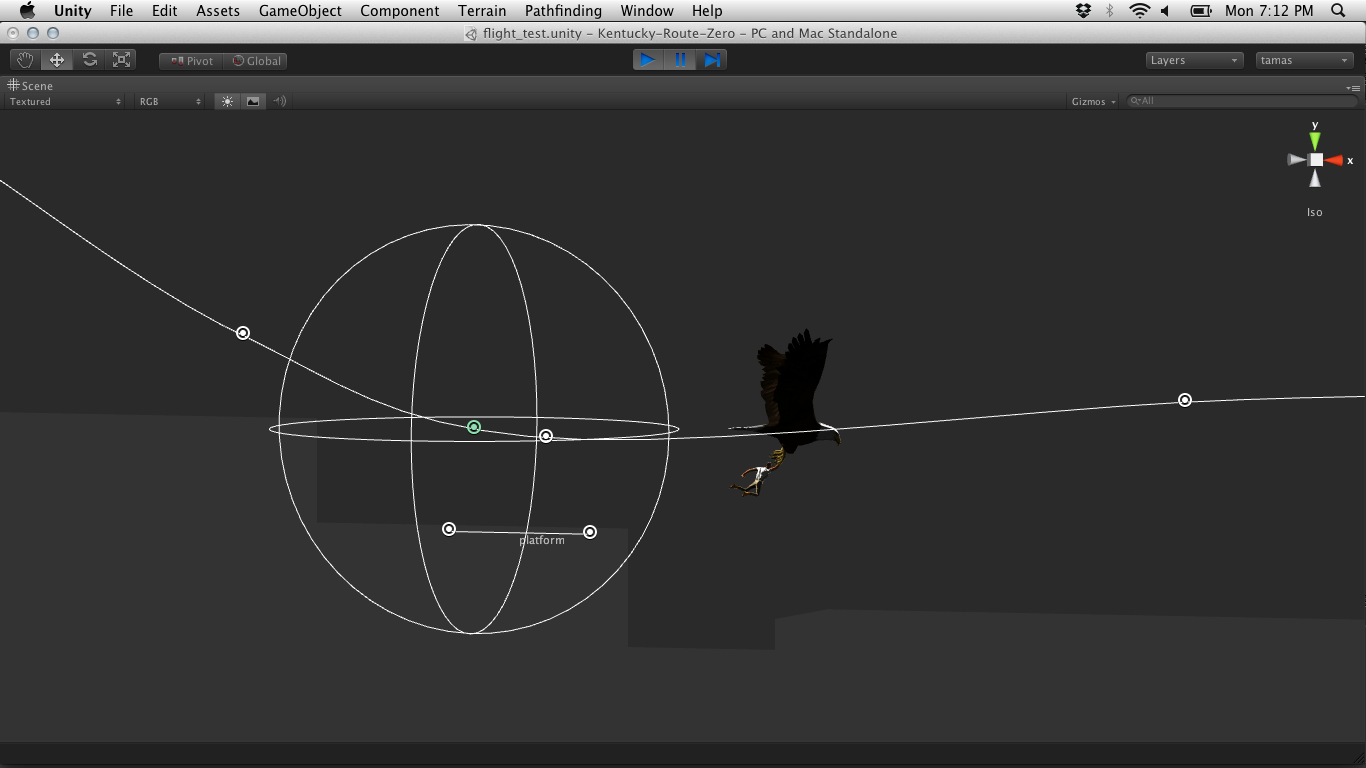
Our pathfinding system in Unity scrubs and blends these animations together via the movement components and does some additional procedural animation with other components, such as Julian's flightpath and his passengers.
One intersting problem we had to solve in Unity is how to achieve a stop motion look, since the engine interpolates by default. After trying to export stepped animation from Blender, and being overwhelmed by the task of manually converting imported animation in Unity to use stepped curves, I settled on a straighforward script that just toggle's the object's animation at a certain interval. Here's the script for any Unity folks reading:
	class StopMotion extends MonoBehaviour {
    var step : float = 0.05;
    private var dirty : boolean = true;
    private var deltaTime : float = 0.0;

    function Awake () {
        if (enabled)
            animation.enabled = false;
    }

    function Update () {
        if (dirty) {
            dirty = false;
            animation.enabled = false;
        }
        deltaTime += Time.deltaTime;
        if (deltaTime >= step) {
            dirty = true;
            deltaTime -= step;
            animation.enabled = true;
        }
    }
}
That's all for now!